Journey into IoT Cloud With NodeMCU & Heroku - Part 3 - Send data to Cloud!
In Part 2 of this IoT Journey we learned how to program and control NodeMCU as HTTP server with network commands. In this post Part 3 will demonstrate how to connect NodeMCU to Cloud platform and collect data from this module.
I will use NodeMCU development kit v1.0 unit with mini USB connector same as we did before to program it as HTTP client and send data to Cloud platform - Heroku. We will complete following steps:
- Create simple REST API with Swagger
- Program NodeMCU to connect to our API
- Send sample data
- Deploy REST API to Heroku
- Run NodeMCU to post data to Cloud
Will build our REST API wth Node.js and Swagger, popular API framework. Node installation can be found here. Lets install Swagger locally to start building our API. Will use swagger-node package, then use swagger Quick Start to generate our API sever to get started. In this case I decided to try Sails Framework for our API example. Other frameworks are available if you like Express, Restify etc.
? Framework? (Use arrow keys)
  connect
  express
  hapi
  restify
❯ sails
After this install completes we will have basic hello-world REST API server. Change to new generated project folder /hello-world and start API server. To start server runtime we can use swagger swagger project start command or node app. You now have API running with swagger at local URL.
http://localhost:10010/hello?name=Tim
Accessing url with your browser will get a response Hello, Tim. We can use this simple API to test the NodeMCU client connection. To do this will add some logging statements to our hello-world controller code that can be found in this file hello-world/api/controllers/hello-world.js this is our controller method set up at the endpoint /hello.
function hello(req, res) {
  var name = req.swagger.params.name.value || 'stranger';
  var hello = util.format('Hello, %s!', name);

  // Add this log statement to see calls
  console.log('=== NodeMCU ' + name + ' ===');

  // this sends back a JSON response string
  res.json(hello);
}
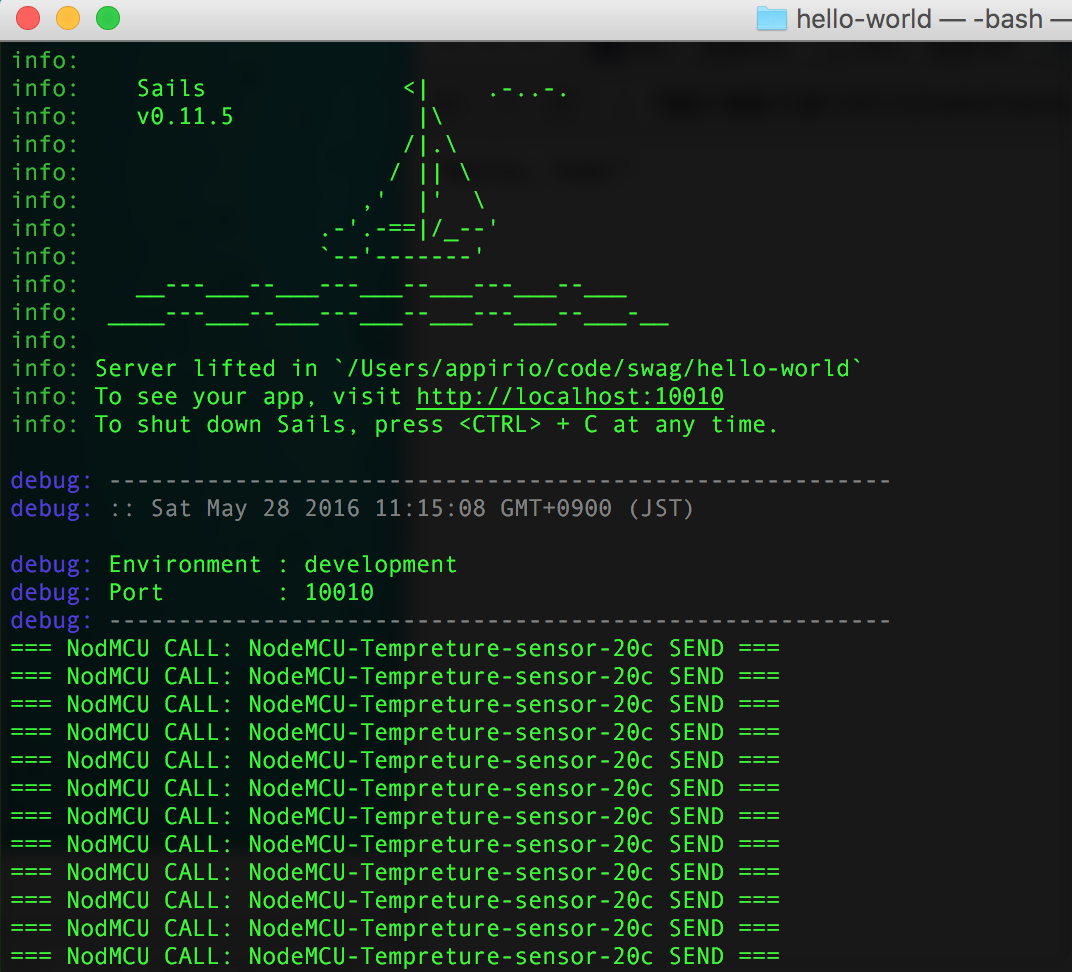
Now when this API is called our server will log a statement and we can track when NodeMCU sends data to our sample API.
=== NodeMCU NodeMCU-Tempreture-sensor ===
Next step we will load HTTP client program to our NodeMCU unit with Arduino IDE that we have set up in Part 2 of this series. Will select BasicHttpClient from list of examples. Will make some updates to connect this client add your WiFi SSID and password and direct client to call our API endpoint.
http://192.168.1.9:10010/hello?name=Tim
#include <Arduino.h>

#include <ESP8266WiFi.h>
#include <ESP8266WiFiMulti.h>

#include <ESP8266HTTPClient.h>

#define USE_SERIAL Serial

ESP8266WiFiMulti WiFiMulti;

void setup() {

    USE_SERIAL.begin(115200);
   // USE_SERIAL.setDebugOutput(true);

    USE_SERIAL.println();
    USE_SERIAL.println();
    USE_SERIAL.println();

    for(uint8_t t = 4; t > 0; t--) {
        USE_SERIAL.printf("[SETUP] WAIT %d...\n", t);
        USE_SERIAL.flush();
        delay(1000);
    }

    WiFiMulti.addAP("<WiFi SSID>", "<your password>");

}

void loop() {
    // wait for WiFi connection
    if((WiFiMulti.run() == WL_CONNECTED)) {

        HTTPClient http;

        USE_SERIAL.print("[HTTP] begin...\n");
        // configure traged server and url
        http.begin("http://192.168.1.9:10010/hello?name=NodeMCU-Tempreture-sensor-20c");

        USE_SERIAL.print("[HTTP] GET...\n");
        // start connection and send HTTP header
        int httpCode = http.GET();

        // httpCode will be negative on error
        if(httpCode > 0) {
            // HTTP header has been send and Server response header has been handled
            USE_SERIAL.printf("[HTTP] GET... code: %d\n", httpCode);

            // file found at server
            if(httpCode == HTTP_CODE_OK) {
                String payload = http.getString();
                USE_SERIAL.println(payload);
            }
        } else {
            USE_SERIAL.printf("[HTTP] GET... failed, error: %s\n", http.errorToString(httpCode).c_str());
        }

        http.end();
    }
    delay(10000);
}
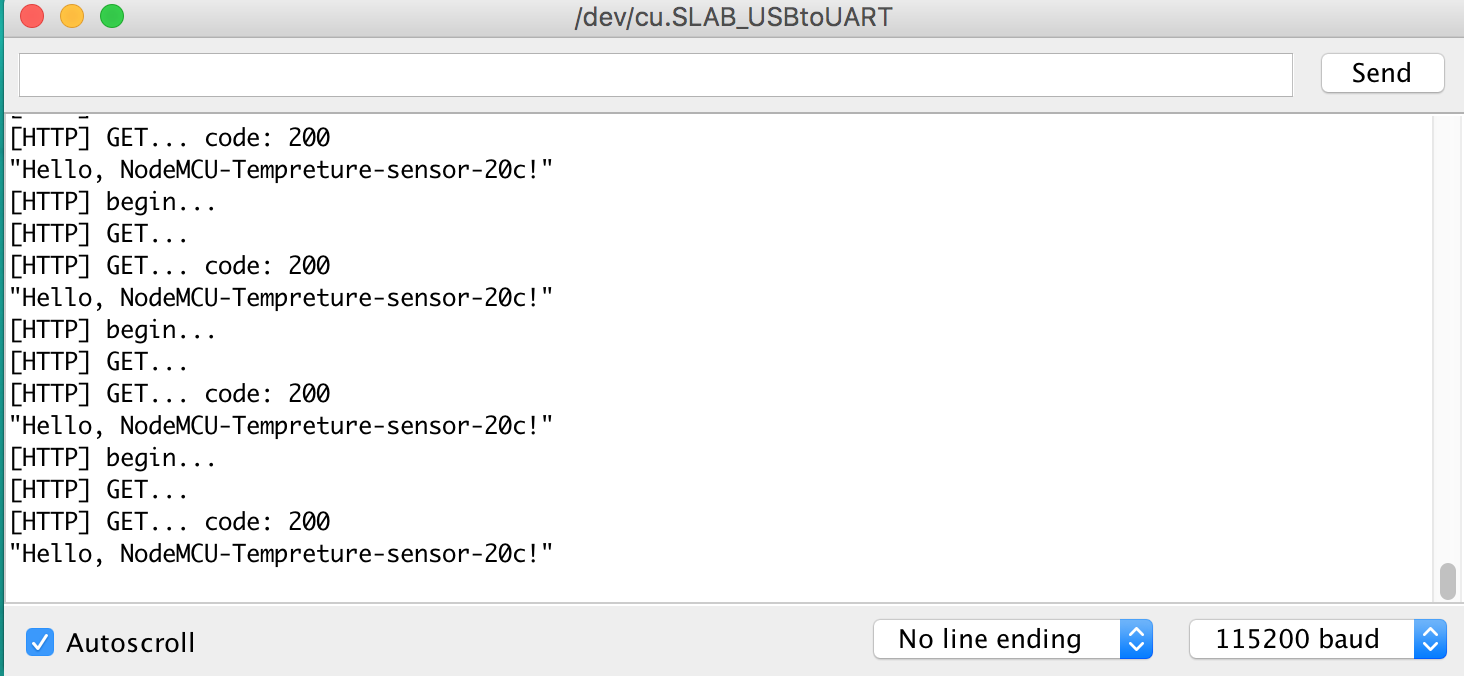
Compile and load this code to NodeMCU, this client will start and connect to our API. Lets open Serial monitor to see log activity from our device.
At same time we can see the logs generated on our server API when REST endpoint is called.
This simple test demonstrates NodeMCU device sending data to our REST API and prepares for next step, getting real data from sensors.
We can deploy this Node.js app to Heroku and have this IoT example ready to collect data in the cloud. We need to register for Heroku account, sign up is free for development, allows 5 apps no credit cards needed. Once we have the account ready lets follow these steps to create the app:
- Login and create an app direct from the browser.
- Give a name to this app, my example
iot-cloud - Select region, in this example United States.
- Hit Create App button
Now the app is ready. This is only setting up app container on Heroku that will hold our resources and dyno for runtime. The Region identifies what data center our app will be hosted at. Heroku is running on top of AWS and has several regions available US, Europe and Japan.

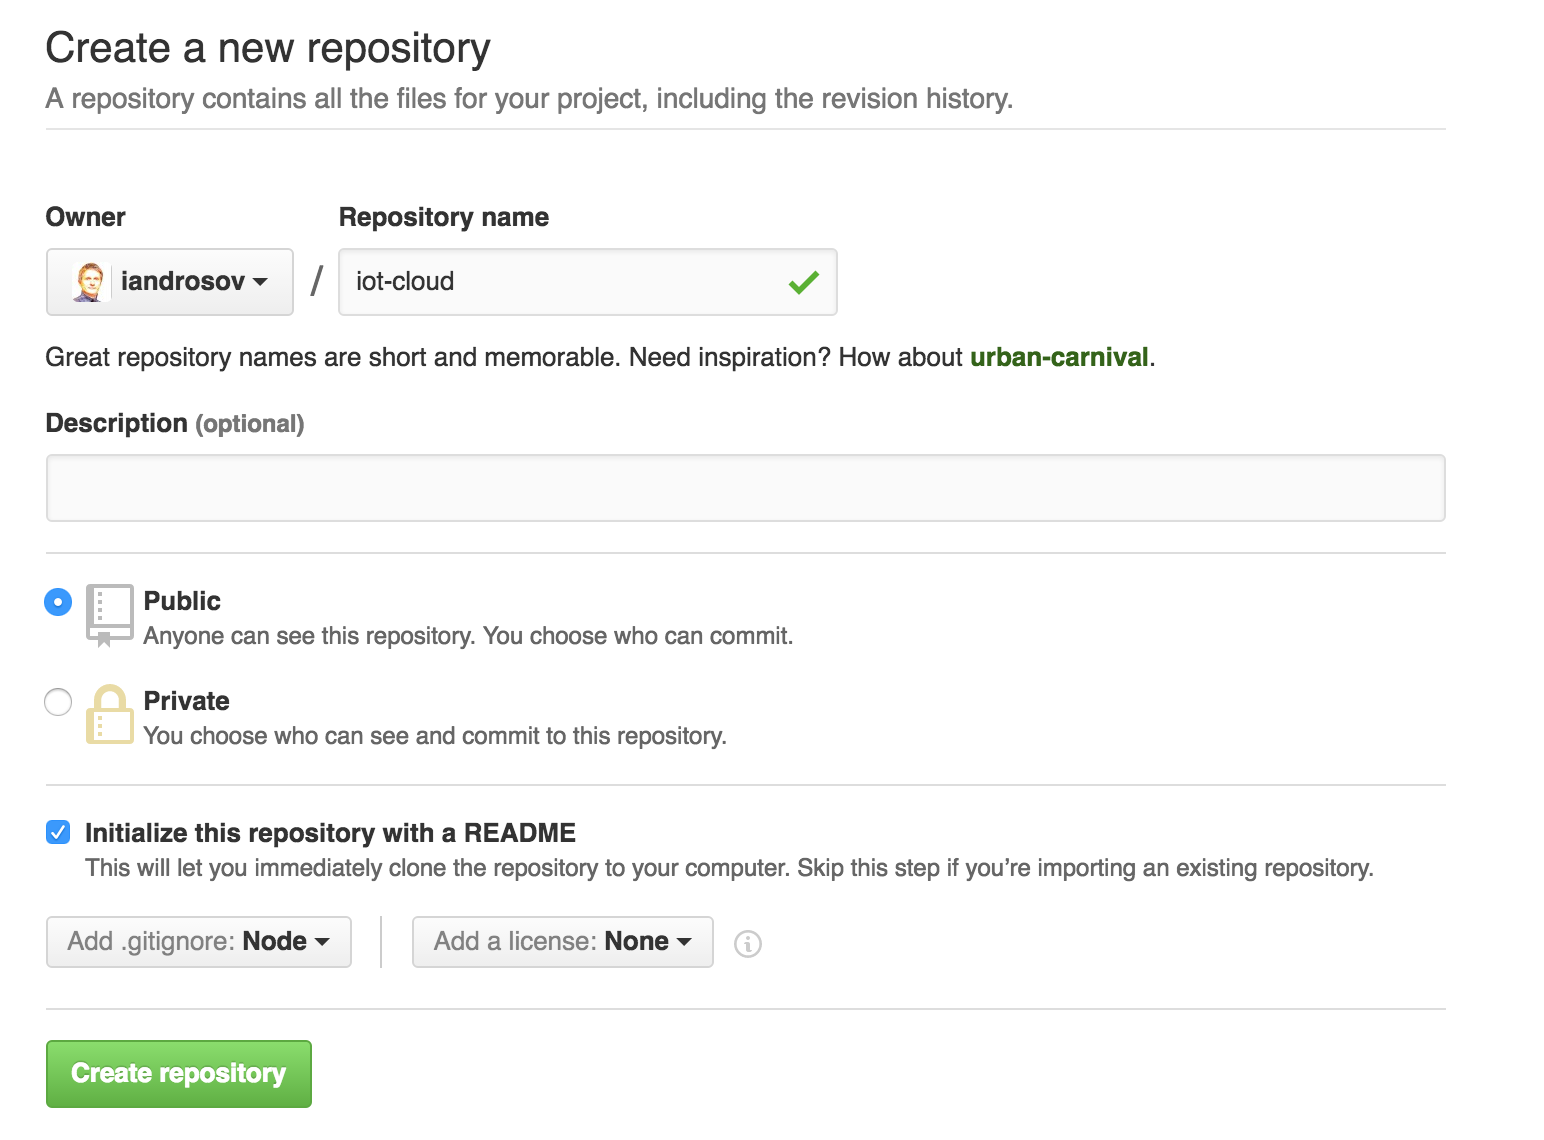
To deploy our app we will use github repository for simple source control and easy Continuos Integration built into Heroku platform. We can also use Heroku Toolbelt CLI or Dropbox to deploy this app. Lets create public github repository, I call it same name iot-cloud but it is not required, repository and app names can be arbitrary any name we choose.
Tip: Naming them same when possible is good
practice that makes it easy to relate github
repo wth Heroku apps.
I also selected to start this github repository with Readme file and gitignore for Node, since that is the language we used to build our REST API on Swagger.
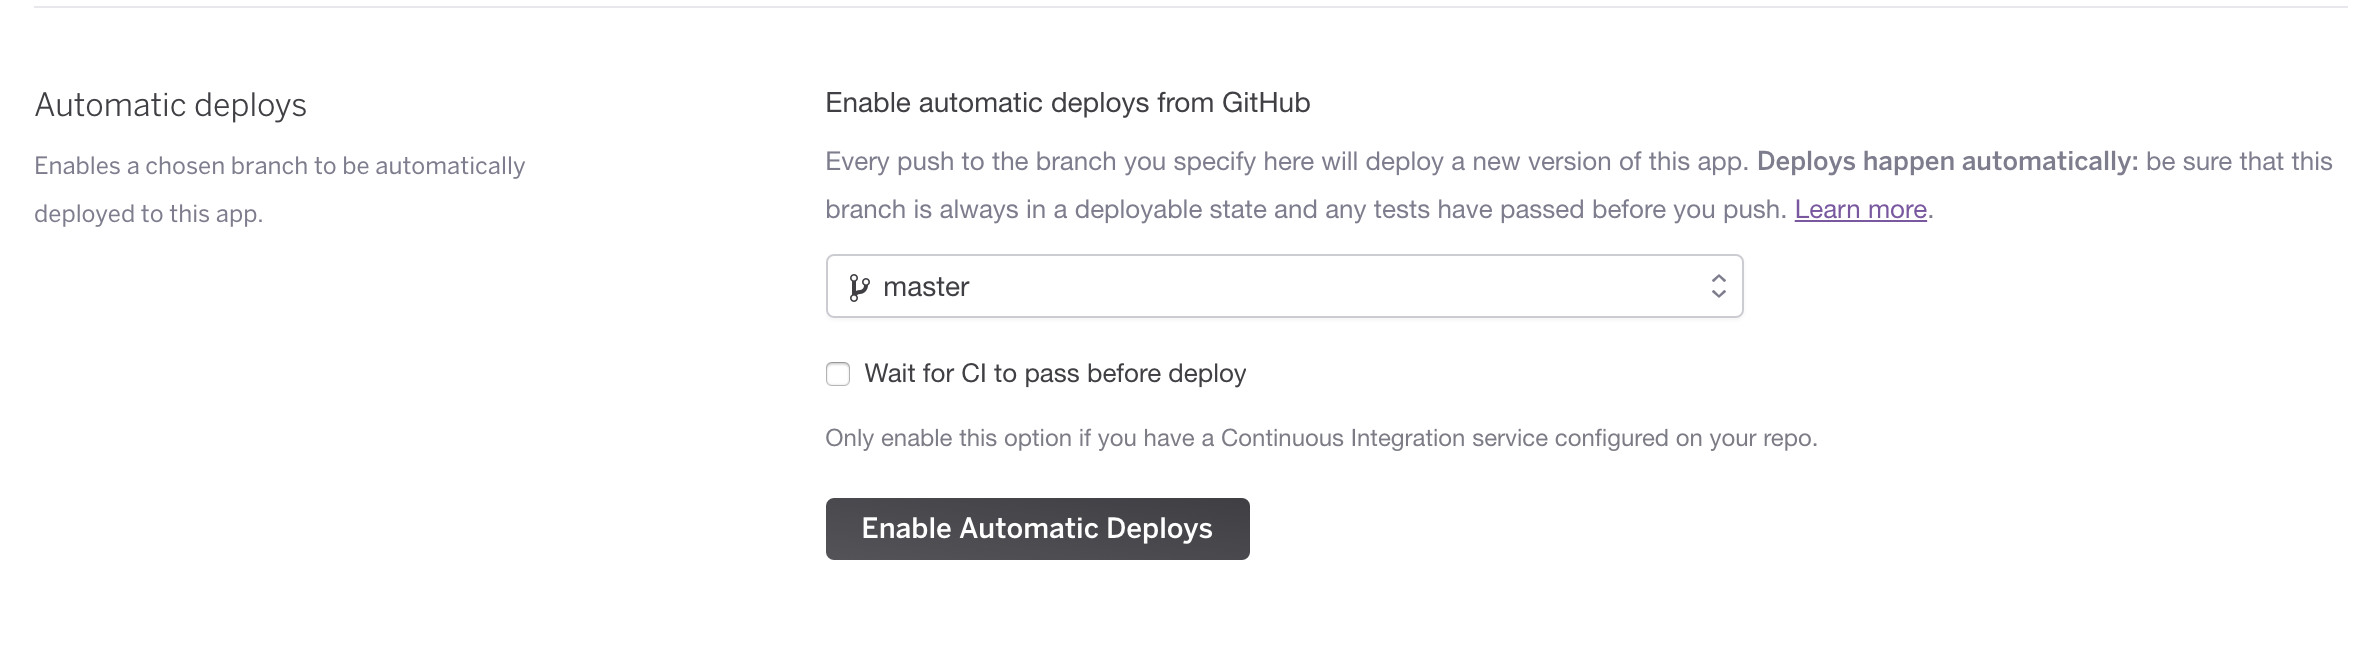
We can link this repository master branch with our iot-cloud app to enable automated builds when we push new code to master.
- In Heroku Dashboard Deploy tab choose Connect to Github
- Authorise Heroku to access your github repository
- Select your github repository name
iandrosov/iot-cloudand Connect

- Select
masteror another branch to use - Enable Automatic deployments
All set with github automated deployment. We need to make some code changes to our Swagger generated app to deploy on Heroku and to track source in our github repository. Simple way to do this we can clone our new repo locally, to do that run this command in your source directory of choice.
git clone https://github.com/iandrosov/iot-cloud.git
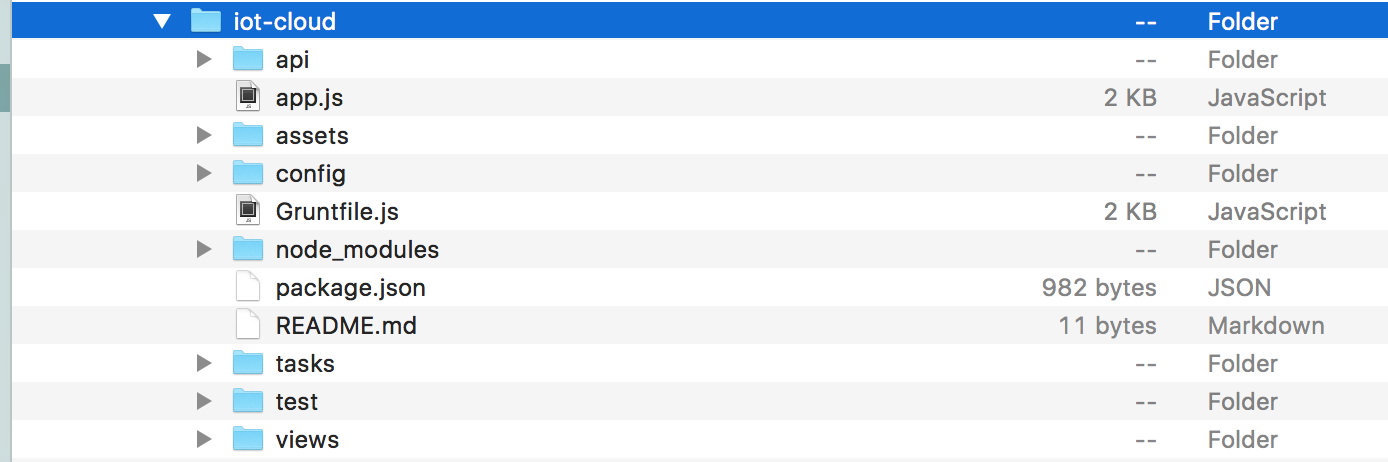
After clone we get ready empty repository linked to our remote repo that can track our app source code and deploy to Heroku. Copy all files and directories from our Swagger /hello-world directory to /iot-cloud directory that will look similar to this list of files.
To run our app in Heroku will need to add Procfile that provides start command for our code to Heroku platform. Create a text file Procfile and add following line to the file and save.
web: node app.js
This command tells Heroku how to start this app with Node. The API app is ready to deploy, we execute these git commands to commit code to github repository.
git add .
git commit -m "Initial commit"
git push
Push to master branch on our repository triggers automated build on Heroku and deployment of our REST API. We can see deployment progress on Heroku dashboard under Activity tab. In few moments our REST API is ready for access in the Cloud, can test it at this URL
http://iot-cloud.herokuapp.com/hello?name=Test
reply
"Hello, Test!"
Now lets change our IoT code to make request to this new Heroku app URL http://iot-cloud.herokuapp.com and fire up our NodeMCU to start pushing requests to the cloud. Will need ot change this line of code in BasicHttpClient-ESP-12
http.begin("http://192.168.1.9:10010/hello?name=NodeMCU-Tempreture-sensor-20c");
to this
http.begin("http://iot-cloud.herokuapp.com/hello?name=NodeMCU-Tempreture-sensor-20c");
All done we can see the logs resulting form NodeMCU requests calls in our Heroku app by using Papertrail addon! To summarize we have completed these tasks
- Created IoT code for NodeMCU to work as Client and send requests to API with WiFi HTTP connection.
- Created Swagger Node.js API
- Set up Heroku app
- Set up github repository
- Set up CI deployment for this new app
- Deployed our REST API to Heroku platform
- Created IoT data feed for Cloud API
This is good learning progress but this Journey to the IoT world is not over yet. Next we will explore how to collect data from sensors with NodeMCU and post that data to the cloud for storage and analytics. We have used REST services but in real applications potential load of large IoT network may require some type of Message Broker like MQTT for fast data processing. All code in this post can be found on github repository.