![Swift, Vapor and Salesforce Lightning Design System [SLDS]](/assets/img/posts/vapor/vapor_slds.png)
Swift, Vapor and Salesforce Lightning Design System [SLDS]

Last article introduced Vapor web framework and how to start building web apps with Swift. But we only touched on simple Hello World, while any good web app must serve web content in HTML and CSS. In this post lets explore how to use Salesforce Lightning Design System (SLDS) with Vapor.
A little history on SLDS, created by Salesforce to support the new Lightning platform/framework, it evolved from Aura UI Framework. In simple terms SLDS is another CSS framework. You may be familiar with Bootstrap and other CSS frameworks. SLDS is specialized for CRM and Force.com types of web apps that are data intensive. These type of apps combine many elements in a single view, such as display of lists and details on data records coupled together with social channel feeds, knowledge articles etc.
-
To start with we need to set up Vapor if you have not done so before.
-
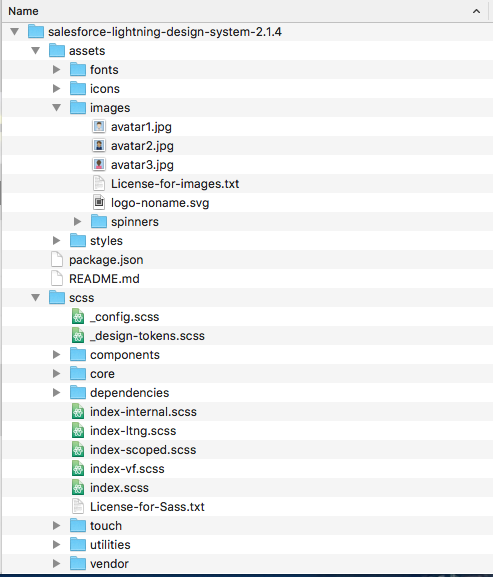
Download a recent version of SLDS (Design System gets frequent updates that are versioned) at the time of this article Salesofrce is in Winter17 release and SLDS Version 2.1.4. As new releases are updated SLDS will update as well, but no fear typically they are compatible. There are many options to get SLDS on your computer, github, npm package, zip etc. I choose download zip for simplicity. Unzip the file and you will see a directory structure with ready to use design assets.
To learn more about SLDS I recommend this Trailhead Lightning Design System module. If it is your first look at Trailhead, its a good time to start. Trailhead is a fun learning system built by Salesforce to help developers to skill-up. It is free to anyone willing and easy badge-based learning system set up in small modules that can be completed in 10-20 min. Learn to build apps anywhere.
Lets create a vapor web app template lets call it VaporSLDS
vapor new VaporSLDS
You will get similar result on command prompt when it is complete and ready to use.
Build this new server template. this may take a while as it will pull all required dependencies initial time is long.
vapor build

Now to test run server command
vapor run serve
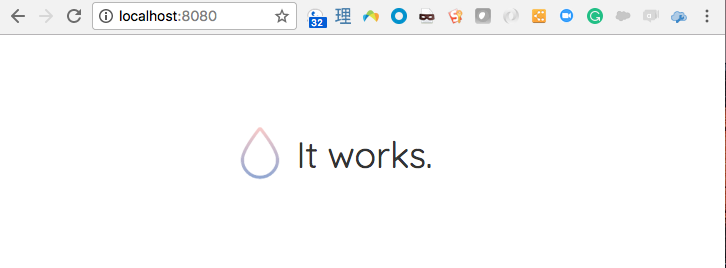
This will start local Vapor server. Navigate in your browser of choice, for me it is Chrome, url: http://localhost:8080
This will test your new templated server, before we start changing it. You will see a welcome page in your browser It Works similar to image below
Now we are ready to add SLDS to our new server and see our web app in action. Vapor project directory includes Public directory where you need to host all your web assets. Lets navigate to location we unziped SLDS system and copy asset directory to Vapor Public directory.
Lets create index.html page that will act as a home page for our app. SLDS docs has several tutorials for different platforms such as VisualForce, iOS, Heroku. In our case we choose Heroku platform as a generic HTML example, least depends on external tags. This doc shows step by step how to use SLDS in HTML page. We create index.html file in our Vapor project directory in Resoources\Views is where our web app will hold view files.
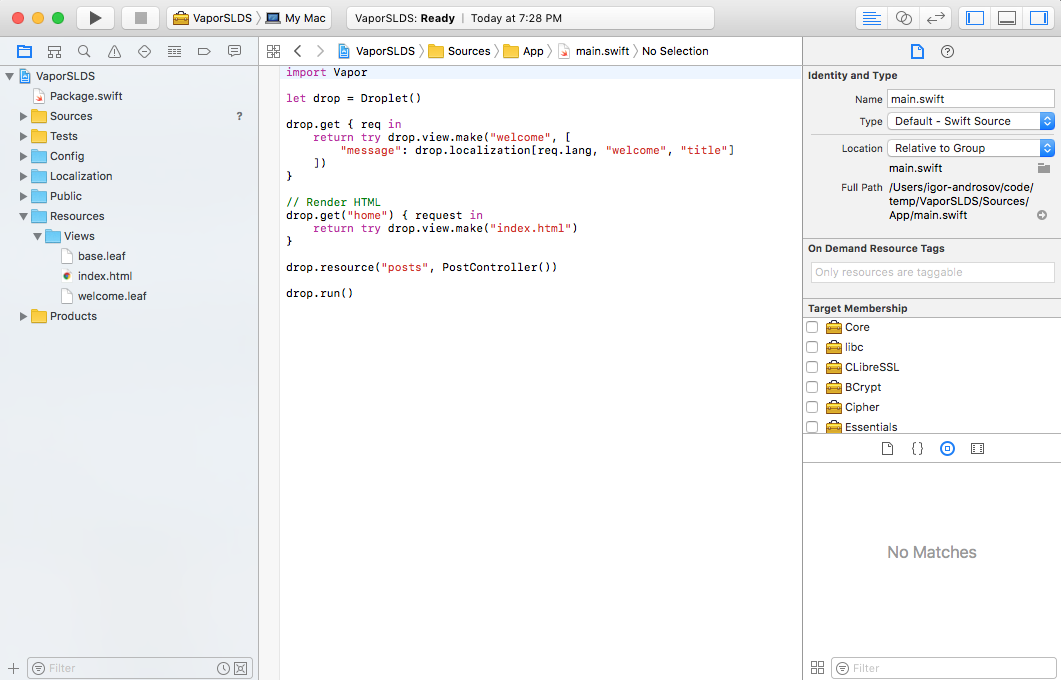
Now we need to add a web route to our index.html page, here we need to add some Swift code. Open a main.swift file located in directory Sources/App/main.swift
The Vapor template generated our default route to welcome page. Your code looks like this
import Vapor

let drop = Droplet()

drop.get { req in
    return try drop.view.make("welcome", [
    	"message": drop.localization[req.lang, "welcome", "title"]
    ])
}

drop.resource("posts", PostController())

drop.run()
We need to add a new route to this example we can call it home that will direct users to our new html SLDS page. This is code method we will add
drop.get("home") { request in
    return try drop.view.make("index.html")
}
As noted before in Vapor everything start with a droplet object and here we create new HTTP GET route with drop.get("home") this defines our GET request. Next line of code will find our html page and serve it to client return try drop.view.make("index.html").
Now your complete code should look like this:
import Vapor

let drop = Droplet()

drop.get { req in
    return try drop.view.make("welcome", [
    	"message": drop.localization[req.lang, "welcome", "title"]
    ])
}

// Render HTML
drop.get("home") { request in
    return try drop.view.make("index.html")
}

drop.resource("posts", PostController())

drop.run()
We must rebuild our server code, since we have changed our Swift code. Stop the local server if it is still running. Then execute vapor build command, and then vapor run serve to restart our server. Once Vapor server starts we can navigate our browser to url http://localhost:8080/home and see our SLDS Home page render similar to image below

Congrats, we have created our first Swift web app with SLDS design that is responsive. That is great but lets take that a bit further. So far we have been coding in simple editor. How about we start our server Swift code in Xcode IDE. For this we need to generate XCode project. In our existing project directory execute this command
swift package generate-xcodeproj
Now we have Xcode project that we launch and move our development into Xcode to leverage full power of IDE, debugging, playgrounds and more.
A complete source code example can be found on github vapor-slds-playground