What is Heroku Button anyway?
Anyone wondered what is Heroku button anyway? Before we can answer that it is fair to do a brief introduction of Heroku a polyglot development platform that acts as container for your apps written in any langauge, Node.js, Java, Ruby, Go etc. In Heroku your application runs inside a Dyno - heroku porcessing unit. As far as our applications concerned Heroku Dyno is app container with computing resources such as CPU, memory, I/O etc. Recently I noticed number of Heroku projects on github start to include Heroku Buttons for quick deployment on the platform. It is one click to setup the app from github in your own heroku instance to runtime and get a quick start, very helpful. You can include such buttons as markdown or as HTML on your web page or blog.
Here we will explore how to add heroku button on this blog as well as on the github repository. For this example we need a github repository to play with, lets try Lightning Design System and deploy Design System demo to Heroku with Node.js as static web site. Note we are doing this as an example, serving static sites on Heroku is quick and simple and can be done with Node or PHP however, it is not the best use of this powerful platform. Heroku is for runtime apps or API services and serving static sites can be done with much less resources and effort (disclaimer).
- Lets fork the Design System repository demo slds heroku
- Clone new repositor localy by
git clone <your fork repository url>. - Set up node app with Heroku
Procfile. - Download Design system and update HTML code as described here.
- Install node modules dependencies, with command
npm installfrom your project root directory.
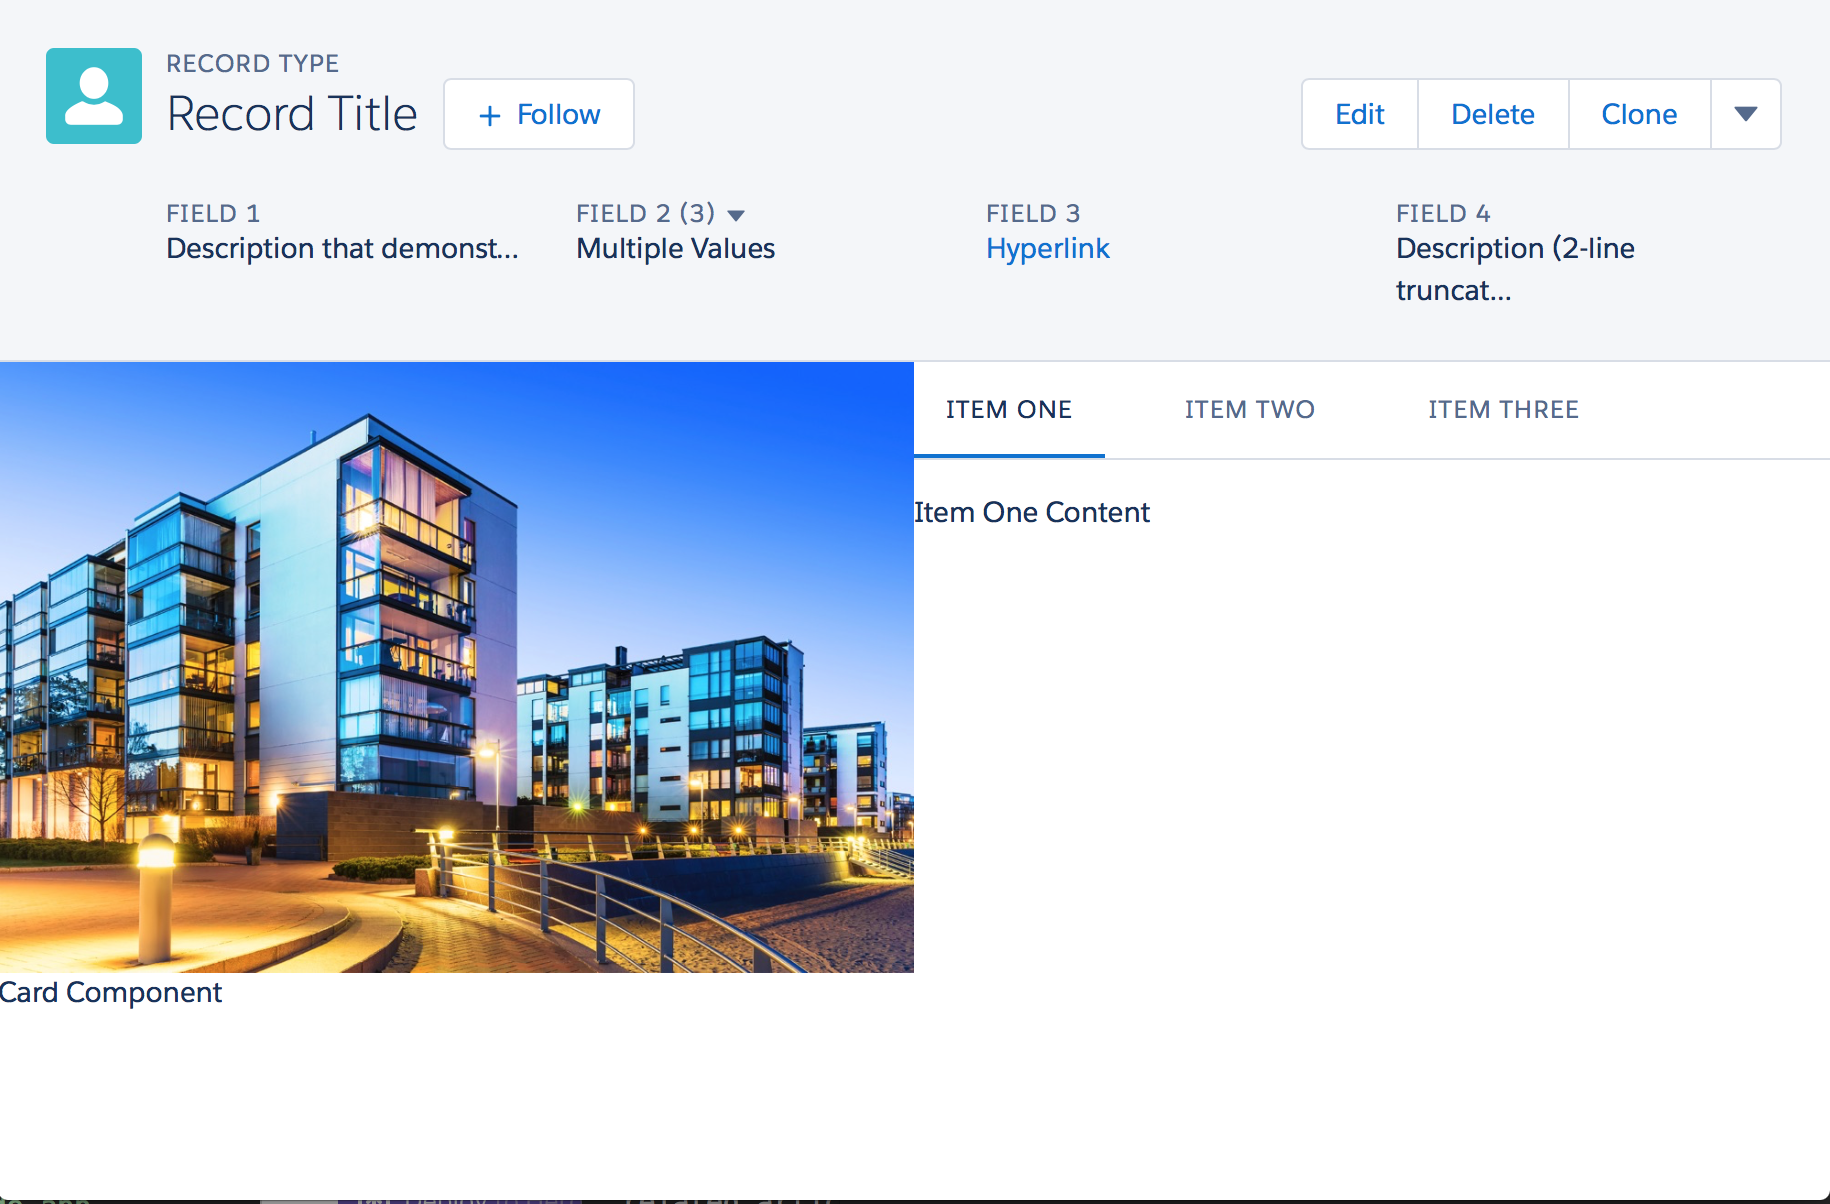
After completing these steps we can test our new app with Node.js sever, to do that run server command node server then open your browser to URL http://localhost:8080, resulting page should look something like this

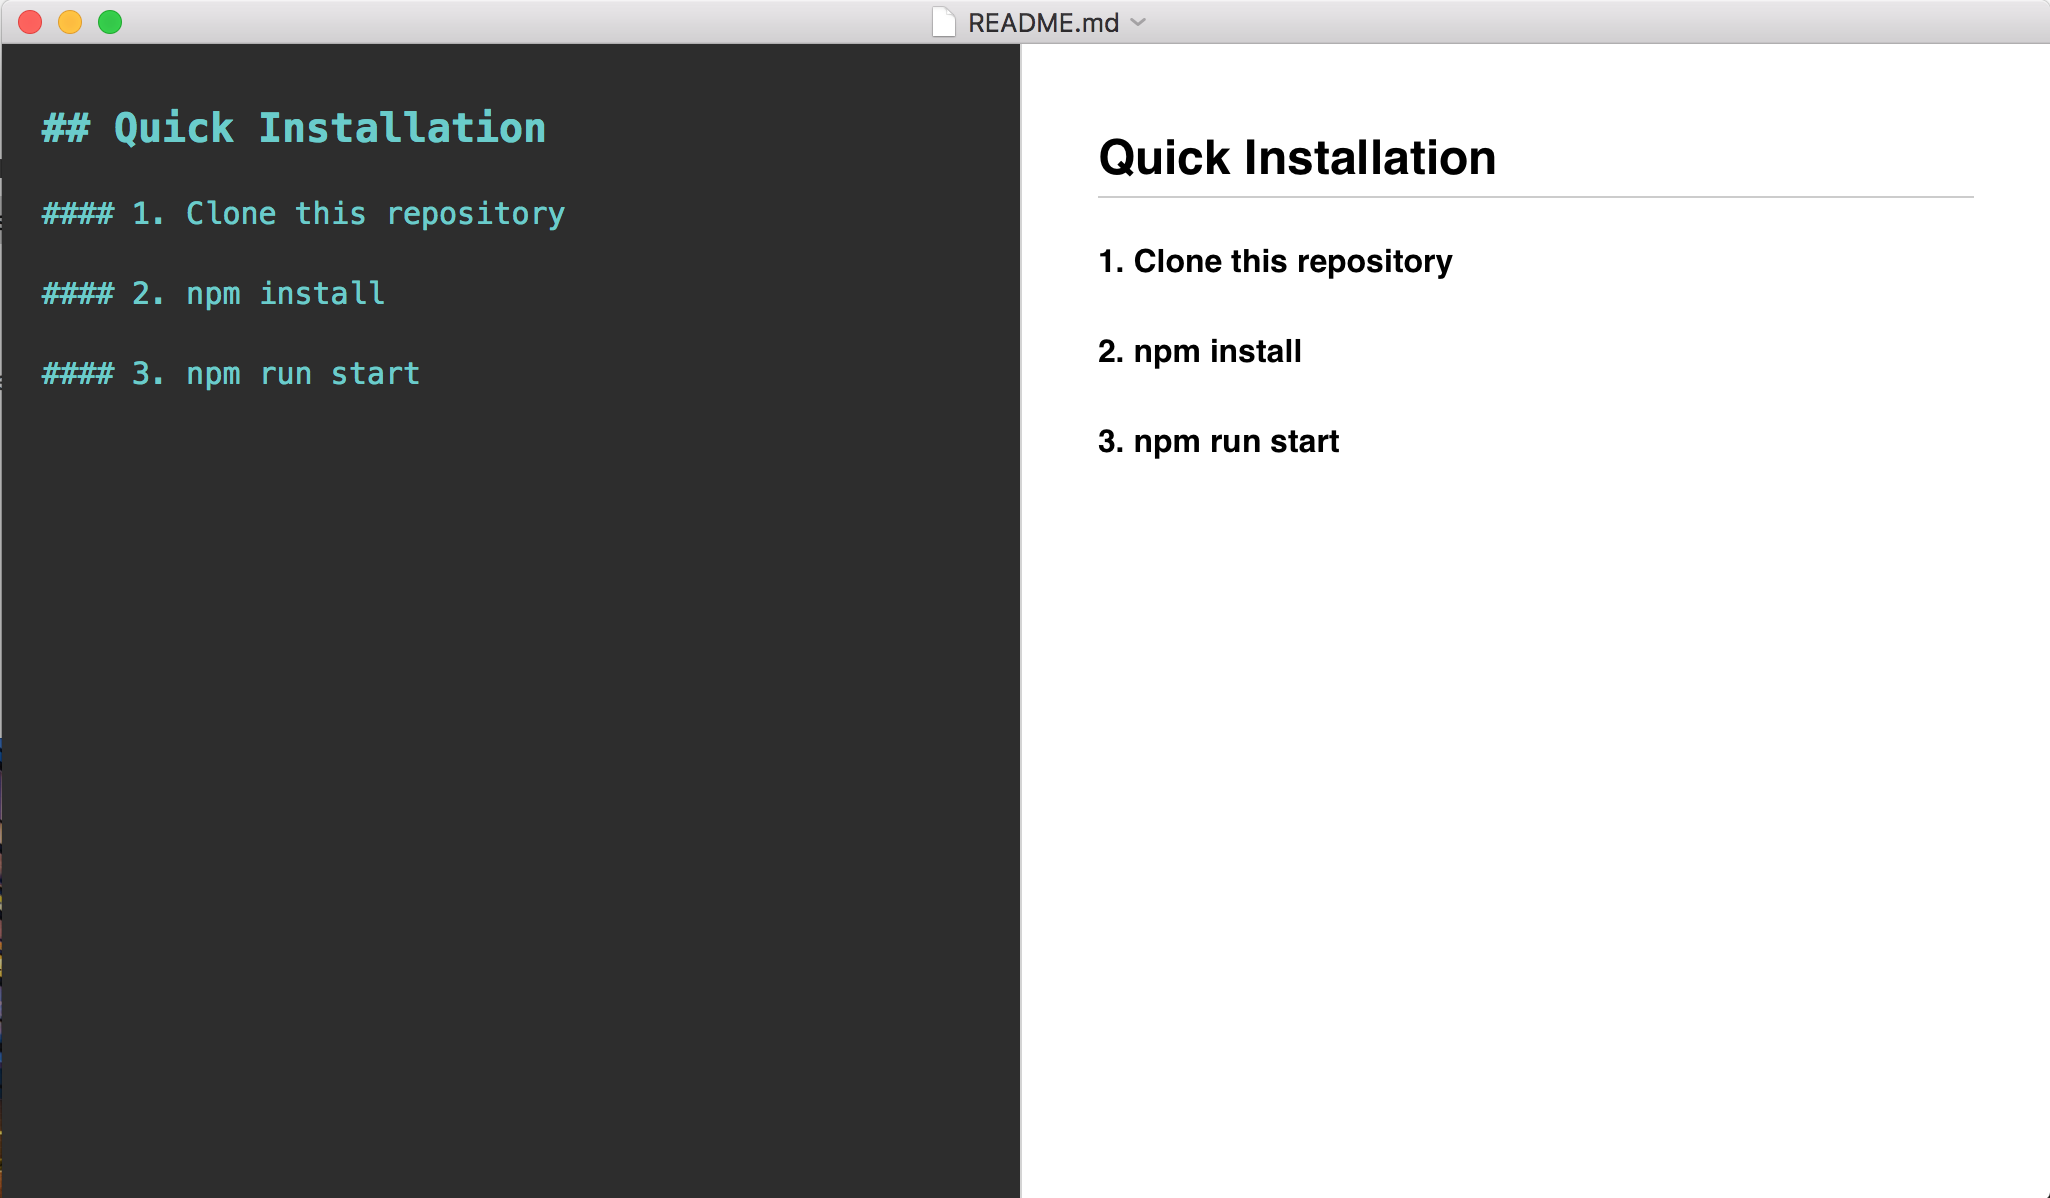
Now all prepwork is done we can add Heroku button to our github repository. You can see my sample repository here. The Heroku button will show on github README page. Open README.md file in your markdown editor. I am using MacDown on a MAC, handy open source markdown editor. The current README file installation instructions is bare for node manual installation.

We will add a quick button to deploy this app to our Heroku organization. The markdown code for the button is simple, it includes the link to standard Heroku Button image that can be SVG or PNG format and link to your repository on github. We will use svg image this time. And we are also using template to direct our button to our repository. This repository is public but if you need private repository Heroku buttons support both public and private. Lets add the markdown to our READM file
[](https://heroku.com/deploy?template=https://github.com/iandrosov/demo_slds_heroku)
This will display the button on the github README page. Now lets add same button to this blog page too since it is same markdown I can copy this here:
You can see what this buton looks like. If you need to add this to HTML page that is also easy to do, here is HTML tags for the same button.
<a href="https://github.com/iandrosov/demo_slds_heroku">
  <img src="https://www.herokucdn.com/deploy/button.svg" alt="Deploy">
</a>
Here you can see how the button UI part is setup. If you are logged in to your Heroku Dashboard you can install this app right from this blog post into your own Heroku org. But this alone will not work just yet. Heroku button requires some application specific metadata. We need a valid app.json file stored in root directory of our Node application. Lets create this fle now.
{
  "name": "Node.js Design System",
  "description": "A barebones Node.js app using Express 4 and Design System",
  "repository": "https://github.com/iandrosov/demo_slds_heroku",
  "logo": "https://demo-slds-heroku.herokuapp.com/node.png",
  "keywords": ["node", "express", "static"]
}
Now we have everything we need. Notice the app.json file has our github repository URL and other app descriptive type of information. That is our simple app metadata. It is now ready to deploy or rather push to github. Now we run set of github commands to push our changes.
git add .
git commit -m 'Add Heroku button'
git push
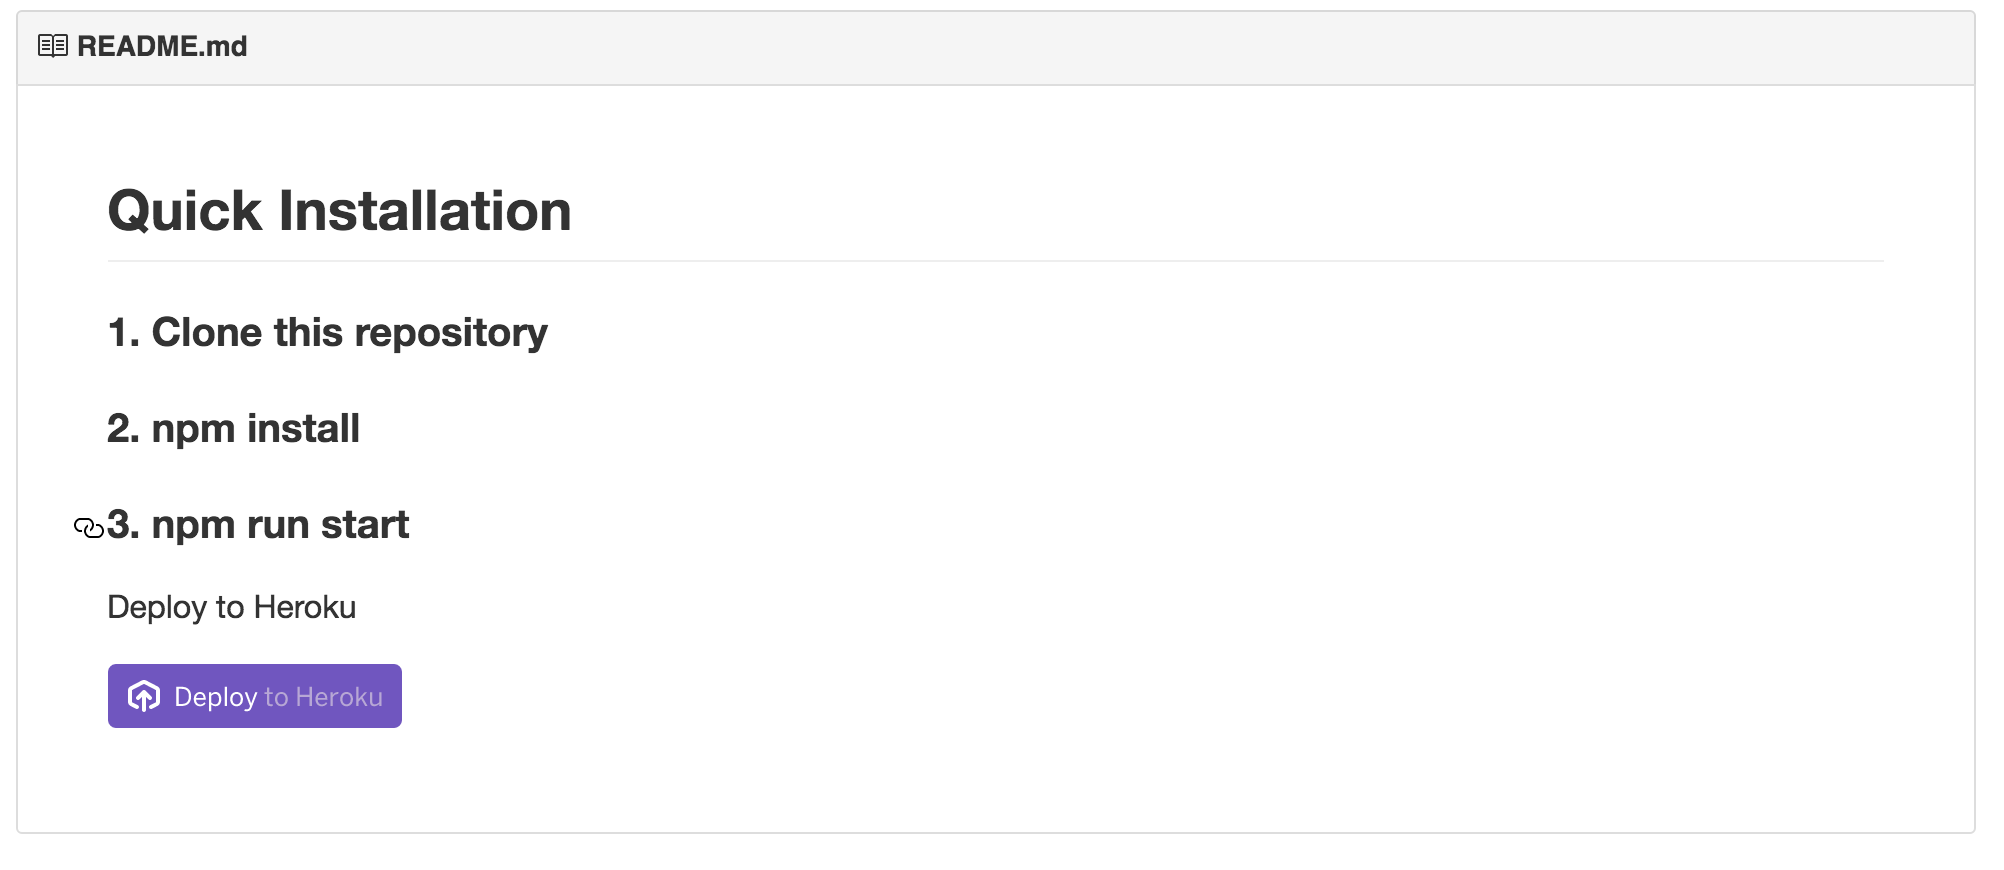
Open your github repository and you will see your new shiny Heroku button

This button is ready to deploy our app - simple! This is how we can add Heroku buttons to github, blog-post or web page, for easy quick deployment to any Heroku organization. You can find more details and option parameters for Heroku buttons on Heroku Dev Center, enjoy yor new button.