Salesforce Lightning Components - App Container
Working with Salesforce we often see a need to integrate external apps into Salesforce 1 mobile app or regular Admin console. In this article I will explore how to include a web app via Lightning Components.
We have example web application Lex-Demo created with Lightning Design System and hosted on Heroku. We are going to show how to expose this application to Salesforce 1 mobile app and Salesforce Lightning tab.
The existing Heroku app built with the Lighting Design System showing simple page with links and detail cards. We will enable our Salesforce users to access this app via tabs on the S1 or Salesforce tab. This application does not require special authentication or data access in Salesforce, that keeps us focused on the technical task with Lightning Components.
We start by creating a Lightning component, we name it MyCustomContent, intended to display our web-app in iframe. This component will only be available to our AppBuilder so we will implement single interface: flexipage:availableForAllPageTypes. We will set up a URL attribute that can be set to any web-link we want to show inside our container.
<aura:component implements="flexipage:availableForAllPageTypes">
   <aura:attribute name="url" type="String" default="http://www.google.com" access="global" />
	<iframe src="{!v.url}"></iframe>
</aura:component>
Now we will add a design time attribute so that we can set this URL in AppBuilder at design time to make it more flexible. As a side note we could also expose this app inside a Community if we need to by implementing Community Builder interface, for simplicity will stay with App Builder for now.
<design:component>
    <design:attribute name="url" label="URL" />
</design:component>
Our copmponent will run inside iframe and we want our web app to take a full screen at runtime. To make that we add some CSS to our component to set its dimensions to 100% as simple case.
.THIS {
    position:absolute;
    height: 100%;
    width: 100%;
}
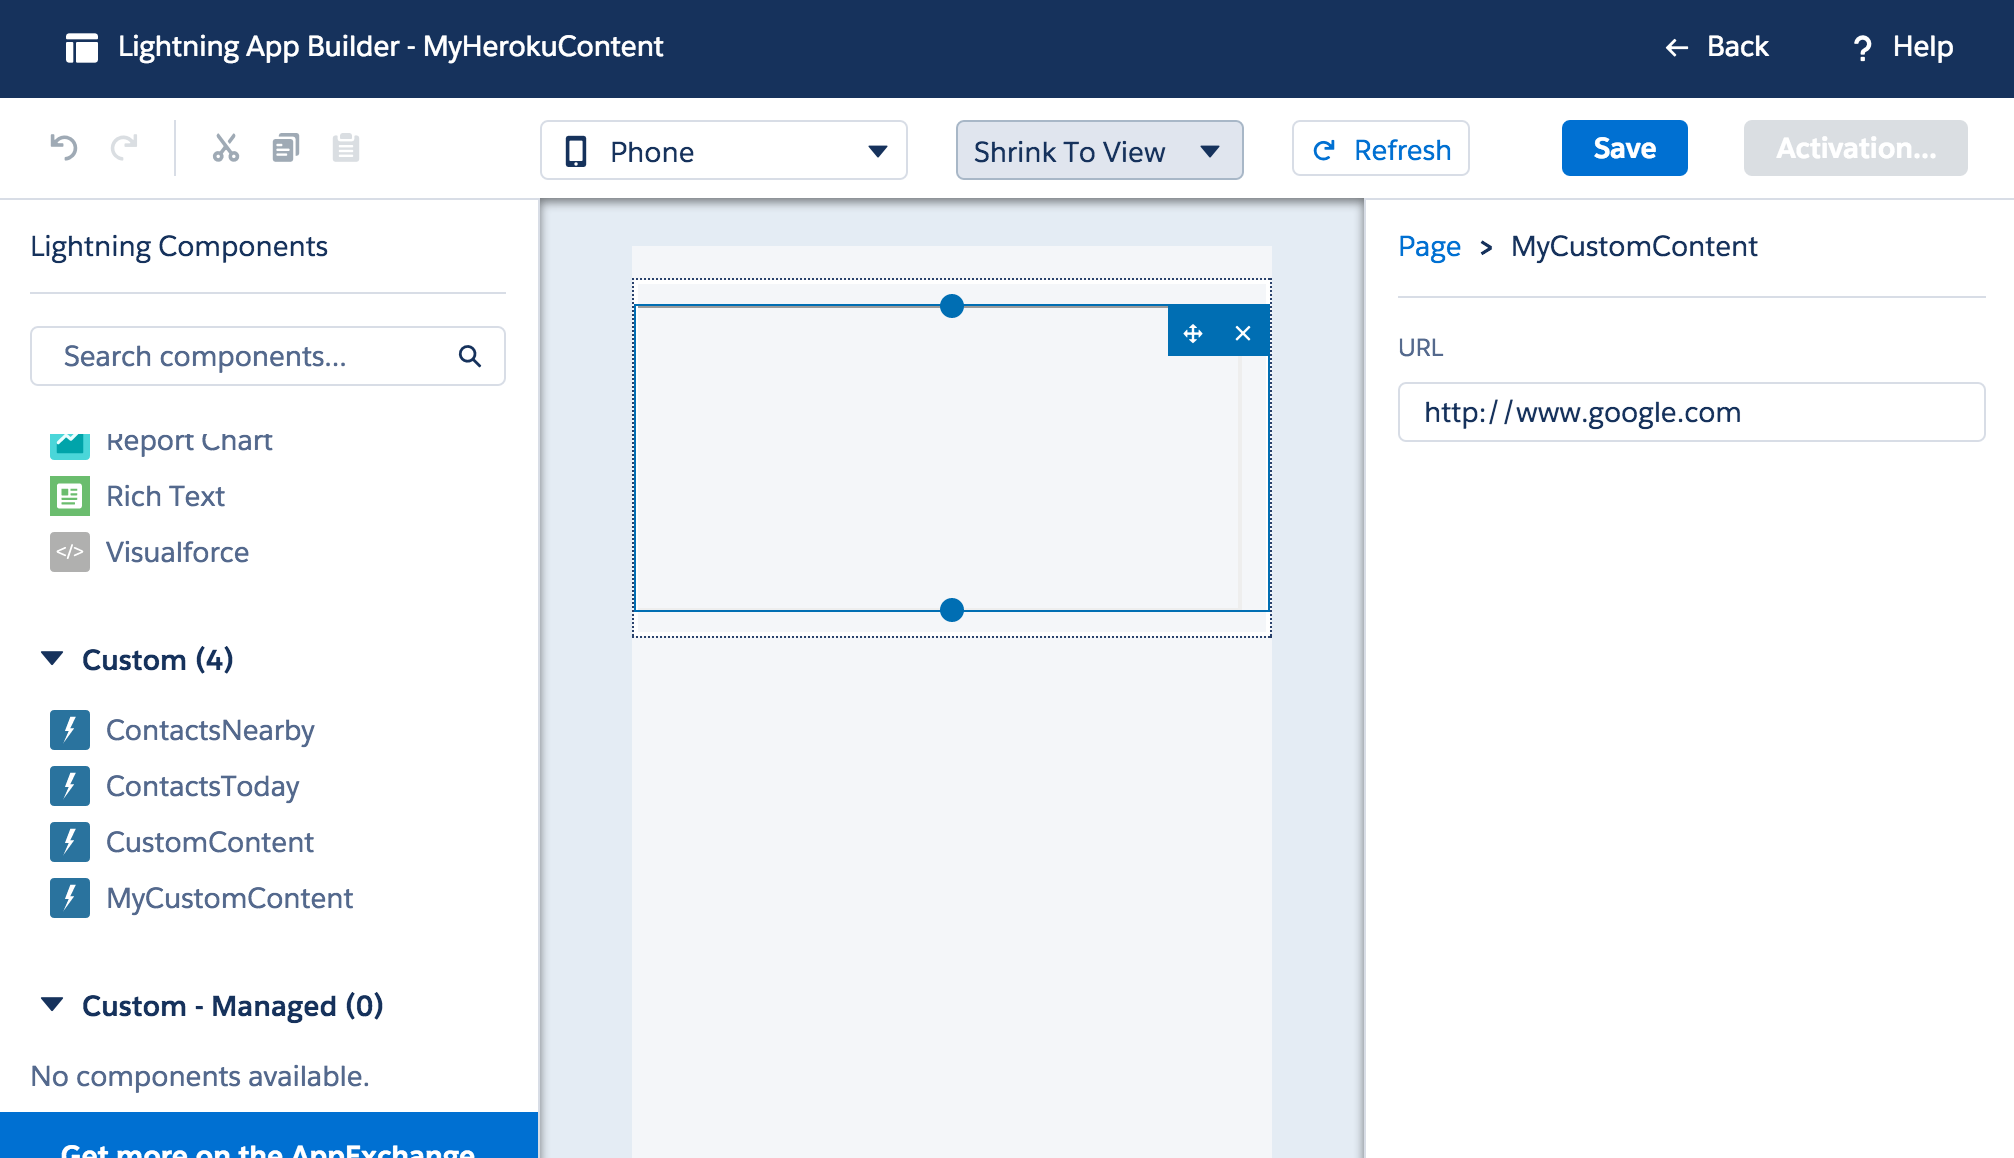
Now we can save our component making sure there are no syntax errors. We can see that new component MyCustomContent now available in App Builder.

Next step to create a Lightning app with the AppBuilder and set web app URL to Heroku. The Lightning app will show as a tab for Salesforce and S1 users. Navigate to App Builder select New app and follow several steps to complete new app creation.
Step 1

Step 2 - Select template layout 1 column for example

Step 3 - Name your app, in this case MyHerokuContent

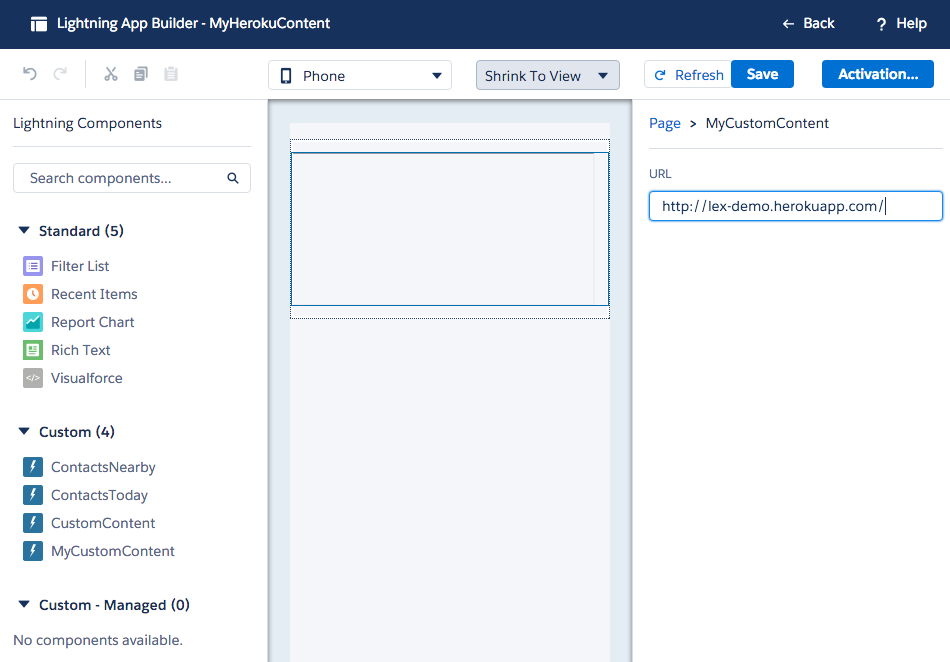
Now with app created we can see our new component MyCustomContent available in App Builder. Will select this component and place it on the app page. This will be only one component for now. Lets set the URL to our web app as follows: https://lex-demo.herokuapp.com/ and save this new app. Note when we save the Lightning app it will prompt to activate the app we can igonre thi step for now. App activation make it available to view.

Lets activate our app, will see that App BUilder is setting a S1 tab for us we can select na icon or change tab name. Activate the app

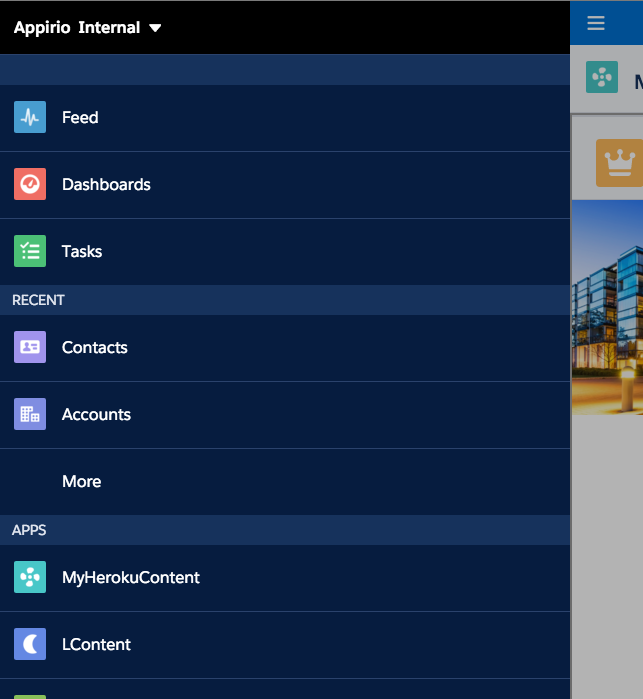
Now we can try out our new app in Mobile S1 app or simulate S1 in browser by appending one/one.app to Salesforce URL. Note that since Spring 16 this URL will direct you to new Lightning Experience UI to see it as S1 you need to emulate mobile device in your browser. For Chrome you can use Device MOde Mobile Emulation, whichever method you choose you should see your S1 app look like the image below.

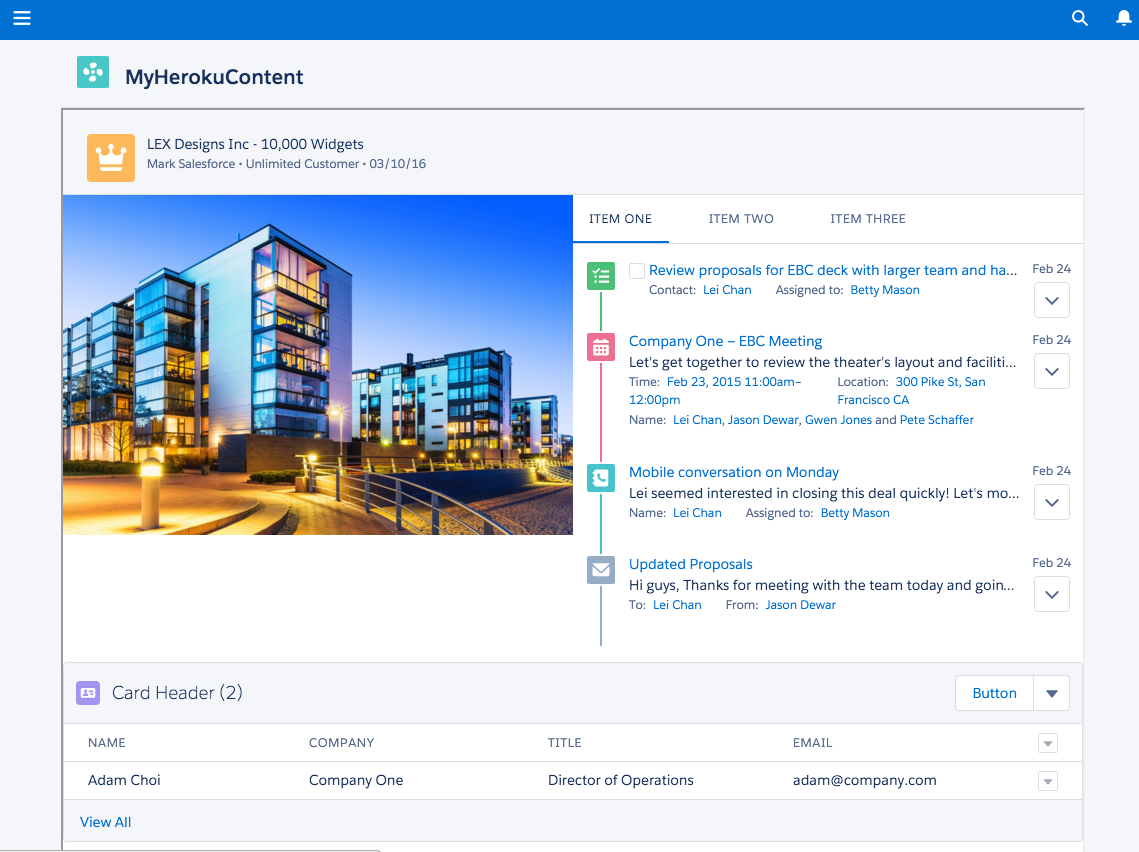
Select a tab from the menu MyHerokuContent and you will see the external Heroku web-app open inside Salesforce 1.

This is how we can include any web application content inside Salesforce 1 Platform available to our users on any device. That is another interesting feature of Lightning components that we can explore further with adding some data integration.